Showing posts with label Maya. Show all posts

Tuesday, 17 July 2012

XV. Saint George trailer (beta)

After all the work I did these days, here there is the trailer of the mapping. In that only appear the story and the prototype of the scene. So here doesn't appear any visual effects like mapping because I'll project it in the final projection, not now. 

Do the trailer has been a hard work because there are a lot of elements, different techniques and software's used in it, so here there are a lot of hours of work because I had to modelate the scene and use software's like After Effects that I don't know too much, for this reason I spent more time to learn and to make the trailer.

This version it's a beta trailer for the moment. Later I'll upload another trying to solve several problems with audio. But for the moment, enjoy it.

Software used: Maya, After Effects CS4, Flash CS4 and Premiere CS4
SoundsFreesound.org
Off voice: Paula


Sunday, 15 July 2012

XIV. Scene

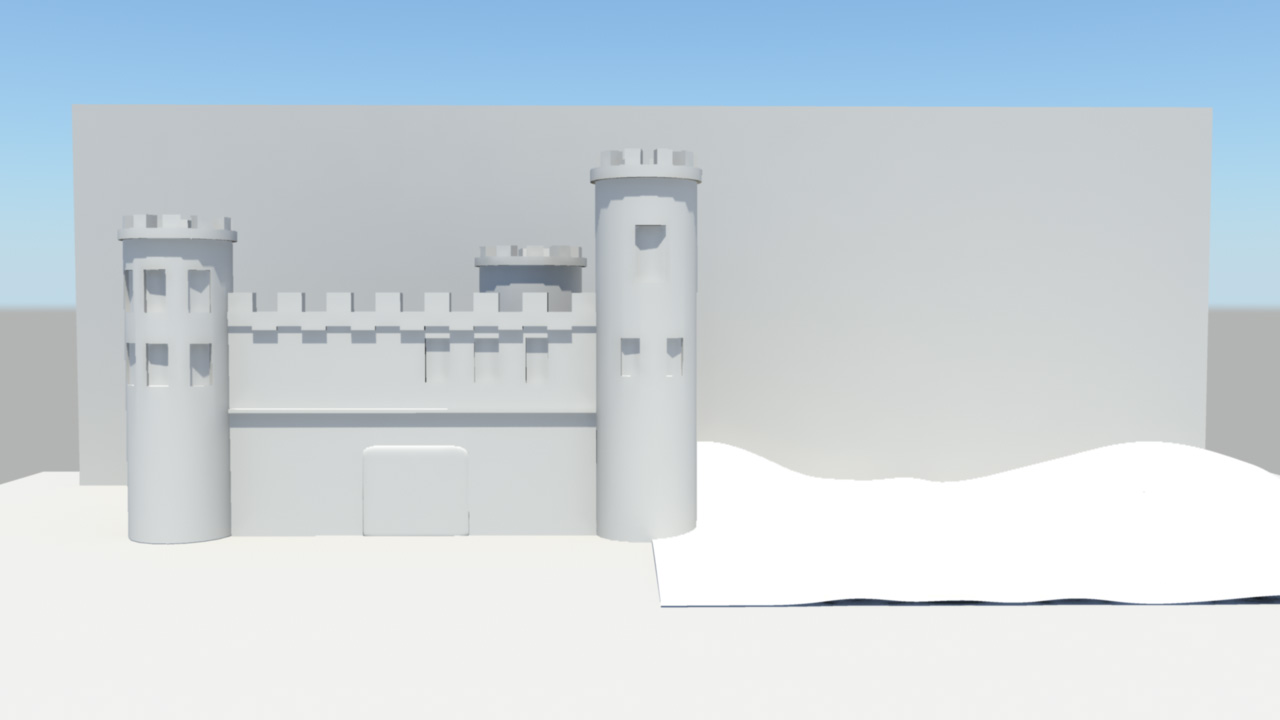
During this days I worked on my scene. I modelated it with Maya software, doing a representation of my real pop-up scene. I explained that it would be divided in three parts: a castle, the forest and lands and the village, following the places of the legend.

All of this it's quite similar at I would get in my final project, but probably I could change some elements during the next year to improve the modelate.

After several hours of work here there are my renders. I had some problems with the lights because at the begining the lights I used overexposed all the elements in the scenario. I solve that problem changing the parametres and modifying the perspective, and you can see it at the following three images. All of them are a front views because it's the same perspective I'll project during my mapping, so to the trailer I have to do the same view. Now I have to do the composition with After Effects and put all the characters and movements in it. Firtsly I thought to do it with Maya but I tink that's it's more easy and faster to do it with After Effects software. Later I'll upload all my work about the characters and the work with After Effects.


Friday, 13 July 2012

XIII. Class Work. Paint effects


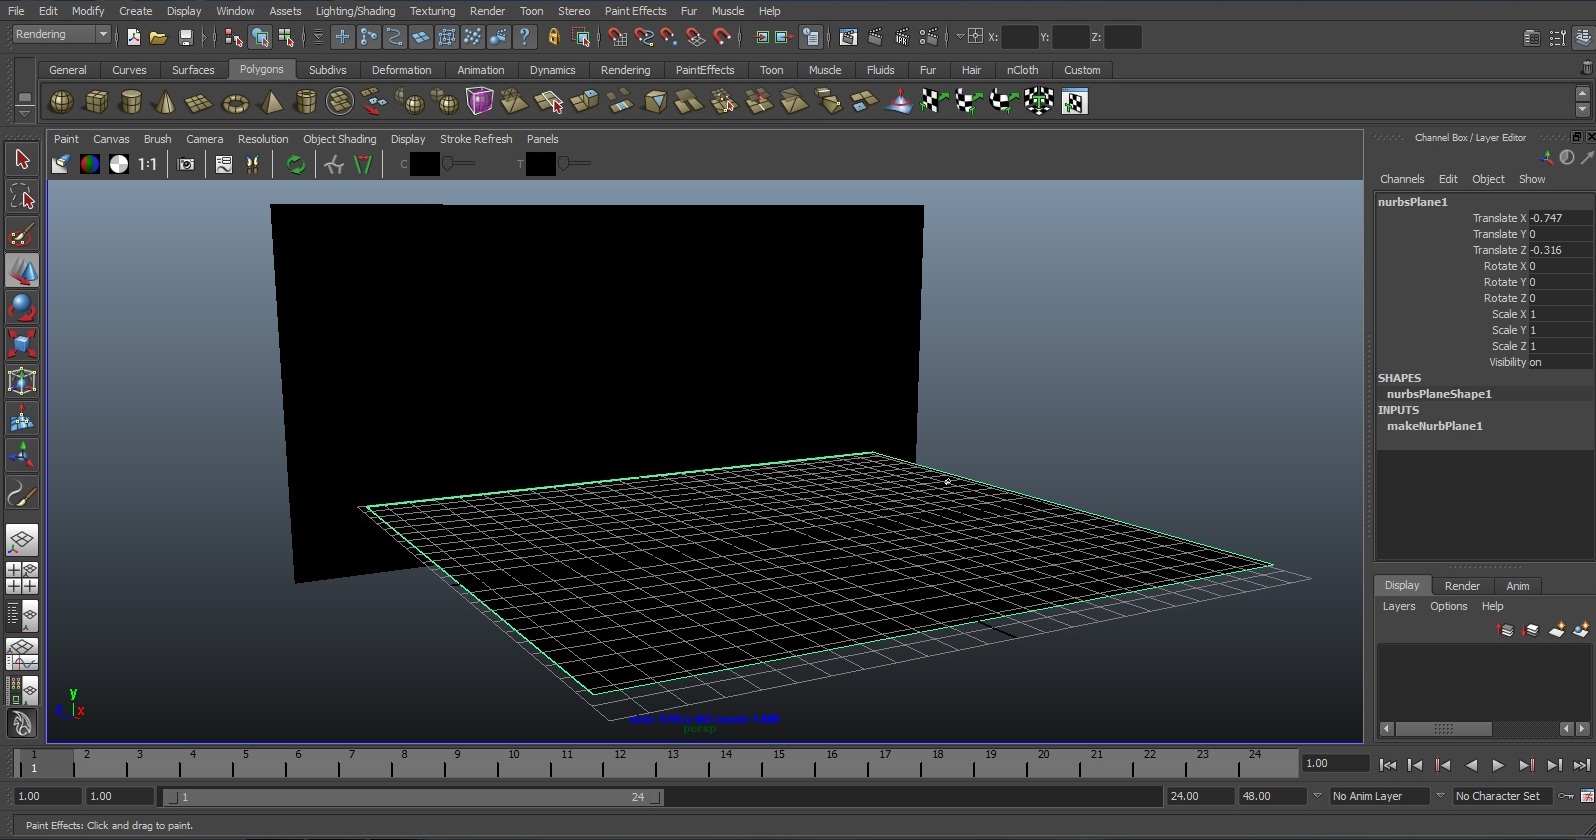
The third Maya class has been useful to learn about Paint Effects tool. This tool allow us to create a lot of different effects, environmental elements, water, animals... To start with this we create two planes and we made this paintable, like the photo you can see at right. 
At the next step we started to create some paint effects like grass, sea stars, bubbles... (you can see it at the photo). All off this elements are in Window>General editors>visor and here we can choose the effects we want. Moreover we applied some colour to the background using some rendering tools and the Hypershade (where there are the materials). Here we could put different colours to the planes we'd created and a ramp effect to simulate the sky.
With this tool we can create a ocean water, so I think that's it very interesting and useful to the future to create all the effects we want.


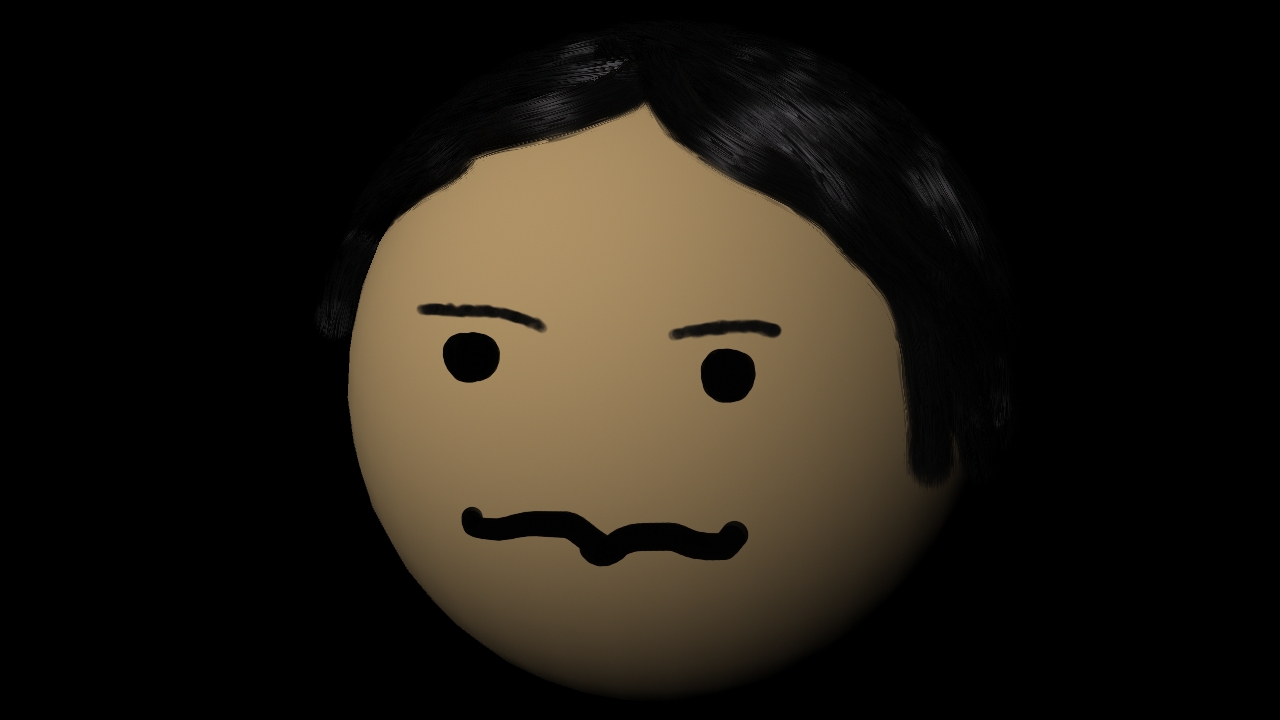
We also used that to create a face like the follow one. We used the same tools (paint effects) to made hair and the other elements of the face, but first we've made the sphere paintable.


Thursday, 12 July 2012

XII. Class Work. Skin tools

The next step with Maya was to work with the skin tools. We practiced how we should to do to seperate some body parts from the others. We used paint skin weights tool and remove influence to do it.

XI. Class Work. Skeleton II

Yesterday at the Maya's session we've created a character done by a skeleton. First, using some spheres we made the body and later we started to create the skeleton. We used the join tool to create that, starting with on side and then, we duplicated it to the other side, also using the mirror joint tool. 

It's a very interesting work because we can create every character we want, buts its a difficult and slowly work, because of every step have to be perfect to carry on. 

Here you can see my work done yesterday.


Tuesday, 10 July 2012

IX. Class work. Animation and skeletons

Today we started to work with Maya. We practised the characters creation to animate and we started working on the face animation with the blend shape tool, so we created three spheres and then we modelled these to create something like a faces was talking. The goal was link all of them and modify the tool settings to create a easier animation of the mouth when the character is talking. 


Later we worked on the extremities animation so we created a skeleton using the join tool and the IK handle tool to see the differences between both and start to animate the leg we made. It have been very interesting because we could create the necessary elements to make a character and we also could see how to link all the parts and move it like a real movement moving, for example, all leg and not only the knee. We did that with two tools we can see at the next image: outliner and hypergraph pierarchy

photo